Cloud Layer
Once you have decided on your level’s sky, whether it’s a Sky Box or Scatter Sky, you can continue to customize the scene with clouds. There are two cloud objects you can choose between. This guide covers the Cloud Layer object.
The Cloud Layer object uses the material system and procedurally generates clouds in the atmosphere. This cloud layer is extremely powerful and flexible. For the most realistic simulation of an atmosphere, the Cloud Layer is highly recommended.
Adding a Cloud Layer
To add a Cloud Layer object, select the Library tab in the Scene Tree panel. Click on the Level tab and double-click the Environment folder. Locate the Cloud Layer entry:
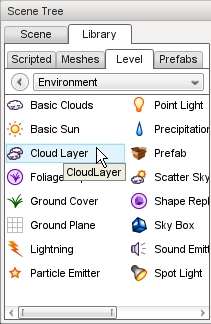
Double-click the Cloud Layer entry. The Create Object dialog box will appear:
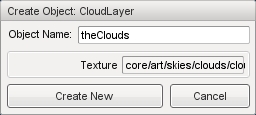
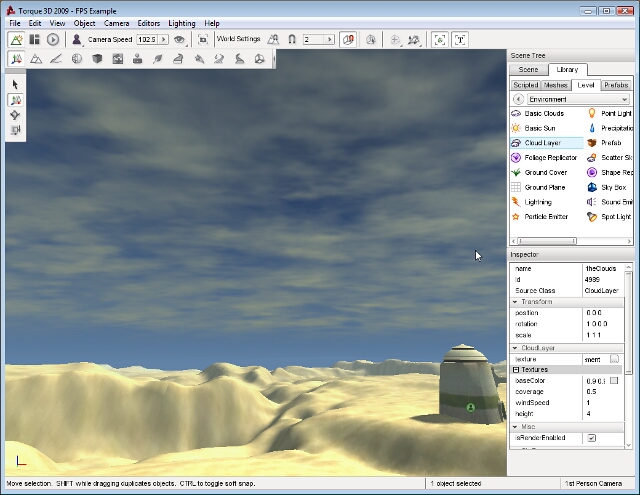
Enter a name for your Cloud Layer object then click the Create New button. A Cloud Layer object will be added to your level. The three procedural cloud layers generated by the Cloud Layer object will be rendering and moving across the sky slowly:
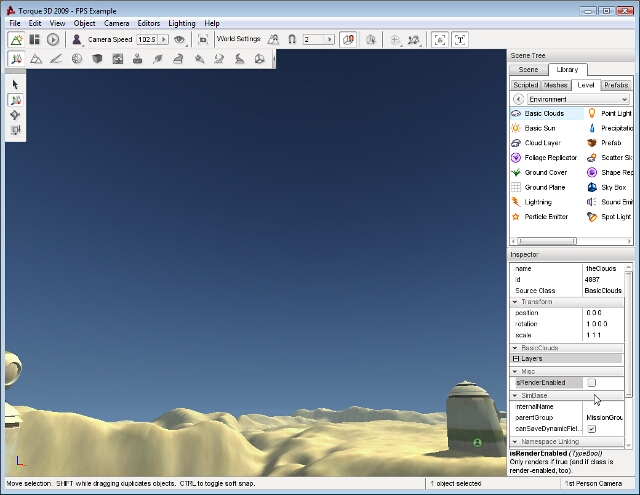
At any time you can toggle the visibility of the cloud layer by locating the isRenderEnabled field under the Editing properties:
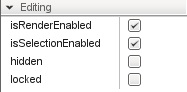
When you toggle this property, the clouds will render according to the status of the check box:
Cloud Layer Properties
Additional properties can be changed with the Inspector pane. To change a Cloud Layers properties using the Inspector Pane, click the Scene tab, and then click the name of your new Cloud Layer object. The Inspector pane will update to display the current properties of your new sun.
Inspector
- Name
- TypeName. Optional global name of this object.
- id
- TypeCaseString. SimObjectId of this object. Read Only.
- Source Class
- TypeCaseString. Source code class of this object. Read Only.
Transform
- position
- MatrixPosition. Object world position.
- rotation
- MatrixOrientation. Object world orientation.
- scale
- Point3F. Object world scale.
CloudLayer
- texture
- TypeImageFilename. An RGBA texture which should contain normals and opacity/height.
- baseColor
- TypeColorF. Base cloud color.
- exposure
- Brightness scale so CloudLayer can be overblown if desired.
- coverage
- TypeF32. Fraction of sky covered by clouds 0 to 1.
- windSpeed
- Wind speed.
- height
- TypeF32. Abstract number which controls the curvature and height of the dome mesh.
Editing
- isRenderEnabled
- TypeBool. Toggle whether rendering of this object is enabled.
- isSelectionEnabled
- TypeBool. Toggle whether to allow selection in the editor.
- hidden
- TypeBool. Toggle whether this object is visible.
- locked
- TypeBool. Toggle whether this object can be changed.
Mounting
- mountPID
- Unique identifier of the mount.
- mountNode
- Node where the mount occurs.
- mountPos
- Offset for positioning the node.
- mountRot
- Rotation of this object in relation to the mount node.
Object
- internalName
- TypeString. Non-unique name used by child objects of a group.
- parentGroup
- TypeString. Group object belongs to.
- class
- TypeString. Links object to script class namespace.
- superClass
- TypeString. Links object to script super class (parent) namespace.
Persistence
- canSave
- TypeBool Toggle whether the object can be saved in the editor.
- canSaveDynamicFields
- TypeBool. True if dynamic fields (added at runtime) should be saved, defaults to true.
- persistentId
- Unique ID of this object.
Cloud Layers
While editing your Cloud Layer object, you may discover the need to edit individual layers. Under the Textures property section you will find layers labeled by an index. Each index refers to a layer and determines rendering order. The layer[0] will be rendered first, layer[1] next, and finally layer[2]. In simpler terms:
- layer[0] is drawn on top of the sky.
- layer[1] is drawn on top of layer[0].
- layer[2] is drawn on top of layer[1].
Unlike the Basic Clouds object, you cannot toggle the visibility of each layer. All three work together for procedural generation.
Editing Cloud Texture
The very first visual modification you can make is selecting a texture. This is the first field under the CloudLayer properties. The stock Cloud Layer uses the following normal map:
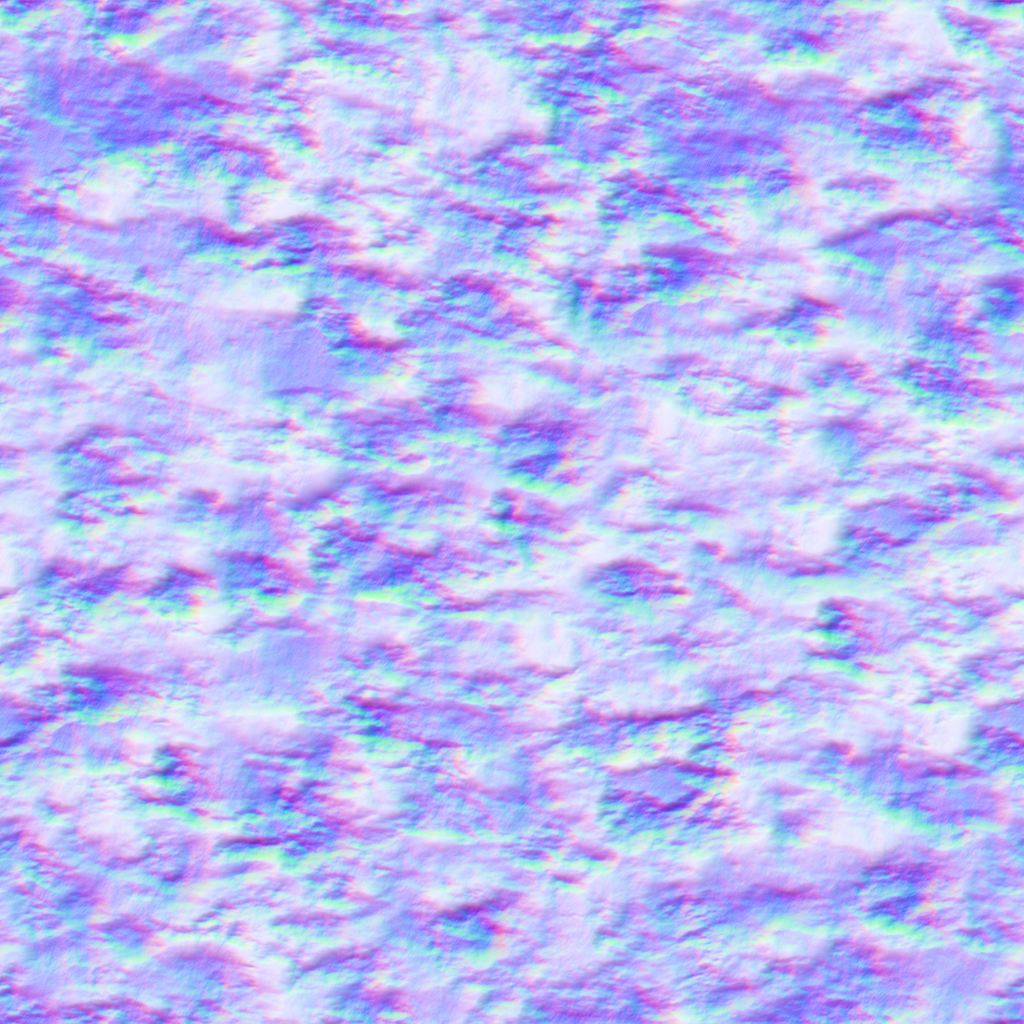
Cloud Layer does not use a diffuse texture. Color is calculated per-pixel based on the normal map using the sun/ambient/fog colors. It is designed to work with the ScatterSky and TimeOfDay where simple/constant diffuseMap based color will not work. For the procedural layer to work, the texture needs to be 4-channel. RGB (red blue green) is a normal map and A (alpha) is the transparency.
Regarding Movement
Unfortunately, static images cannot properly show how the remaining fields affect the Cloud Layer since they all pertain to the motion of the clouds. Clouds can only move horizontally, they can not move up and down. This horizontal movement is described in the texDirection property.
The texDirection property takes two values, separated by a space: “X Y”. Each value corresponds to the axis a texture should scroll on as well as the direction of movement on that axis. The range of each value is -1.0 to 1.0. For example, a value of “1 0” will scroll the texture directly along the X axis in the positive direction with no movement along the Y axis.
Two properties control how fast the cloud layer moves: texSpeed and windSpeed. The windSpeed property is a global modifier, whereas texSpeed will affect a single layer. The two are added to each other to determine a layer’s final speed. If either is set to 0, the cloud layer will not move. The higher the number, the faster your cloud texture will scroll across the sky.